Building a Continuous Integration & Deployment Solution for the IoT.

Elrick Ryan
June 21, 2017
Great, Scott! Even Doc may say we are in the future. Embedded devices and systems are everywhere and today almost every one of them is connected to the internet. Currently, there are over an estimated 8 billion connected devices transferring data and communicating via the internet and that number will continue to grow exponentially to an estimated over 27 billion by 2020. To put that number in perspective the population is estimated at 321 million in the United States and 7 billion in the world. Is anyone else thinking Skynet here? Now that you have that mental picture you now have to build, maintain, and deploy software to these devices that could be located anywhere and in anything. Wondering how to do that? Do not worry The Frontside has your back!
We are always pushing our limits and looking for new and better ways to build software combining over a decade of experience with new hot tech and cool intuitive user interfaces. Connected devices and The Internet of Things are part of the future and this is the first part of our setup for giving users the ability to control devices, anywhere and anytime within the Internet of Things (IoT). However, before we get there let's talk devices.
##Embedded Devices and Systems
An embedded device is an object that contains a special-purpose computing system. It can be part of an embedded system and that system could house multiple embedded devices controlling different parts in the system. Popular today are embedded devices that take the form of microcontrollers like the Arduino, Tessel 2 or single board computers like the Raspberry Pi3 that have input and output pins that allow you to connect other devices. When these devices are connected to the internet they are deemed "smart" and without a Graphical User Interface they are called "headless" devices or systems.
There are tons of examples of embedded devices and systems but here are a few.
- Appliances
- ATM Machines
- Lights
- Televisions
- Watches
- Cell Phones
- Point of Sales Systems
- Interactive Kiosks
- Routers
- Vehicles ( ie. Tesla p90D, or Faraday FF91 those cars are so nice. )
- Microcontrollers: (ie. Arduino, Tessel 2)
- Single board computer: (ie. Raspberry Pi3)
- Drones
- Oceanographic Multisensor Buoy
- Automated Industrial Systems
And the list can really go on and on. When putting this together i thought, hmm, all this surrounding embedded device and systems talk sounds very similar to my working definition of IoT.
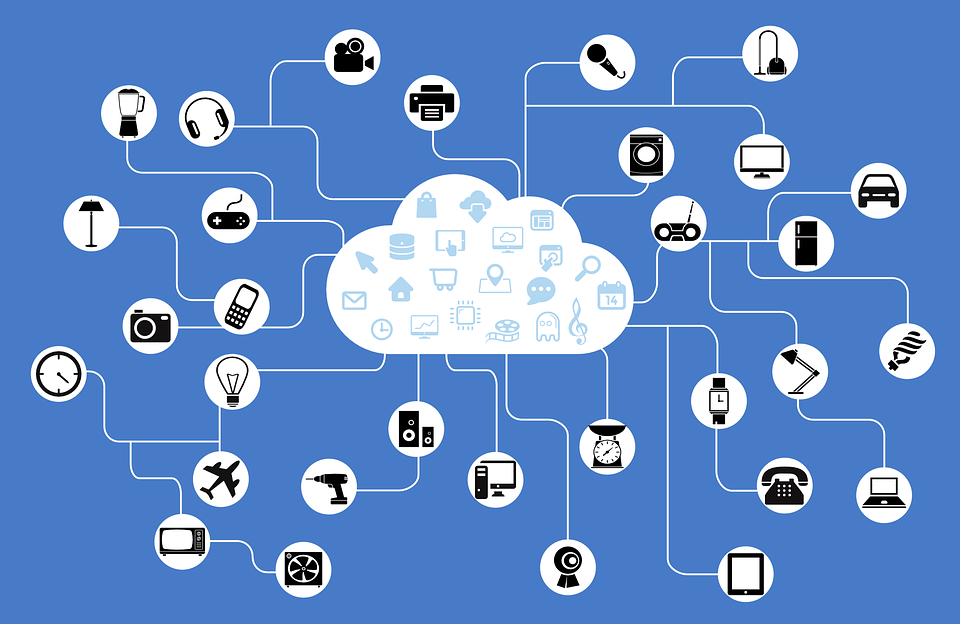
What the heck is IoT
IoT is the inter-networking of physical devices. Physical devices included but are not limited to software, buildings, sensors, electronics, vehicles, and people. The IoT allows these physical devices ( embedded devices and system included ) to send data that will be sensed or controlled remotely across the internet, allowing for more direct integration of the physical world into computer-based systems. These connected devices are what make up the internet of things (IoT). Now that we have all these definitions we can continue our setup.
Setup IoT Deployment
All good software has a solid foundation comprised of various things supporting it and deployment is one of those things. With IoT we have both hardware and software. That hardware needs to have software deployed, maintained and updated on it. To get that accomplished: Enter Resin.io. Resin.io is described as a "software deployment and configuration Platform for embedded devices". It is an extremely powerful platform and is comprised of a client, server, and device software components.
Excellent, this sounds like it will solve our problem so let's set it up.
Setting up Resin.io
Let's get rolling.
First you need to create an account at Resin.io
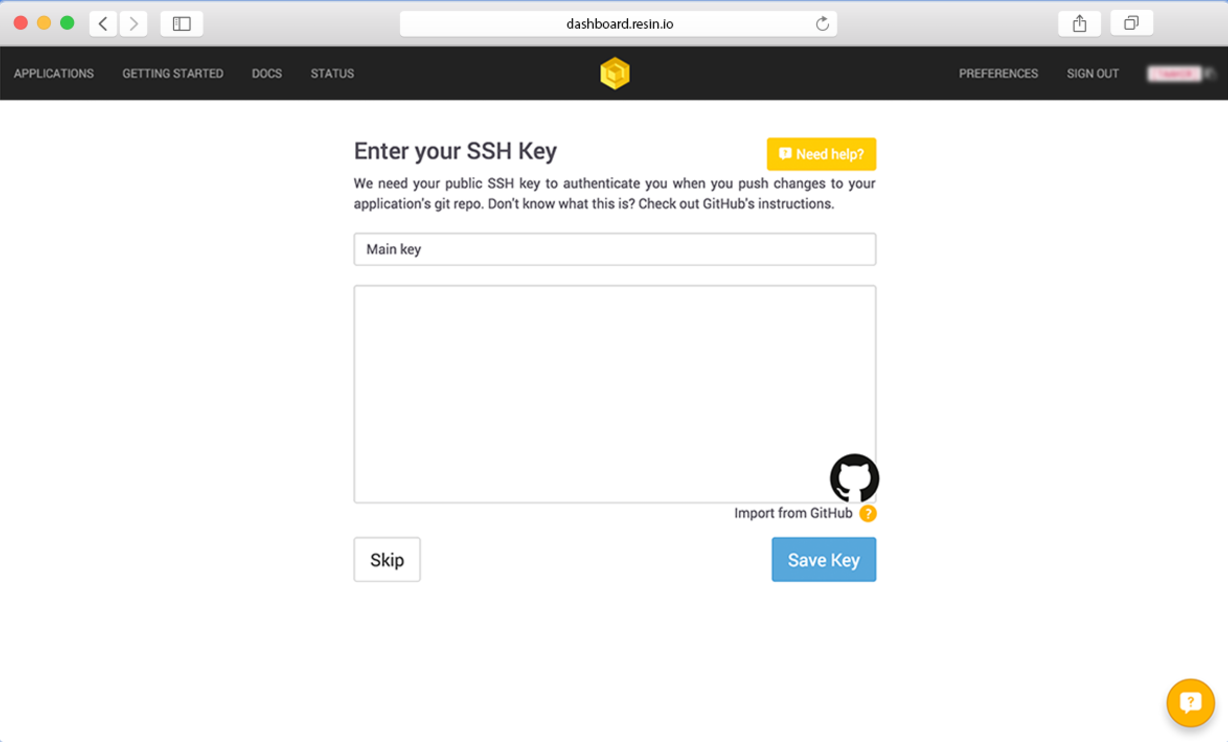
In the Resin.io dashboard add your GitHub SSH public key that you use to push code to GitHub into Resin.io.
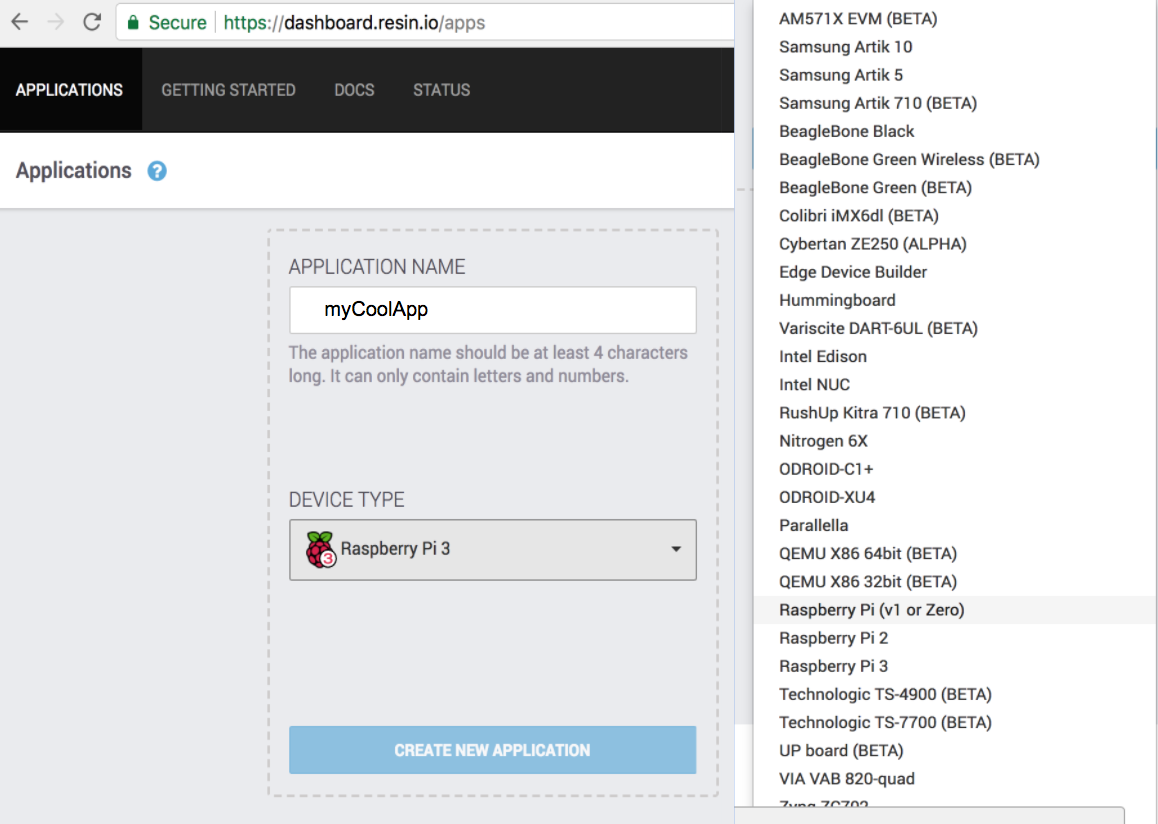
Next create your application, give it a name and pick your device type from the list.
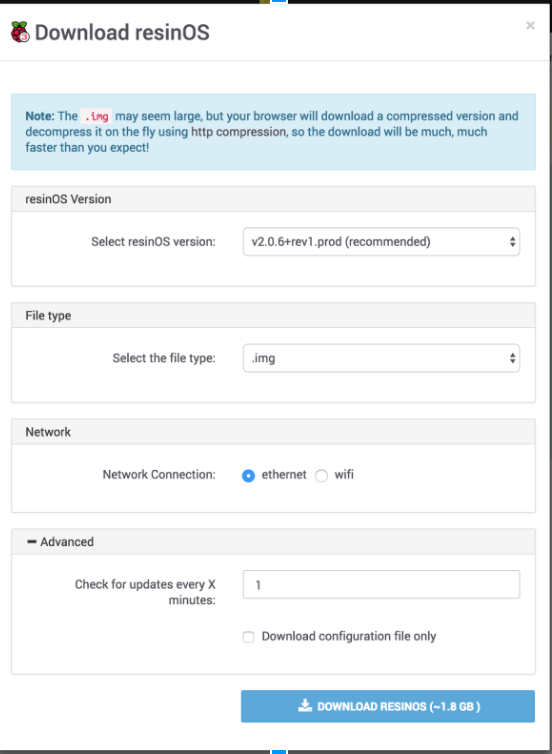
Download the resinOS. Which will give you the Device OS specific for your device. When we created the application Resin.io gave us a remote url to point to the resin server. The url looks likes:
git remote add resin yourusername@git.resin.io:yourusername/mycoolapp.
We will need that later.
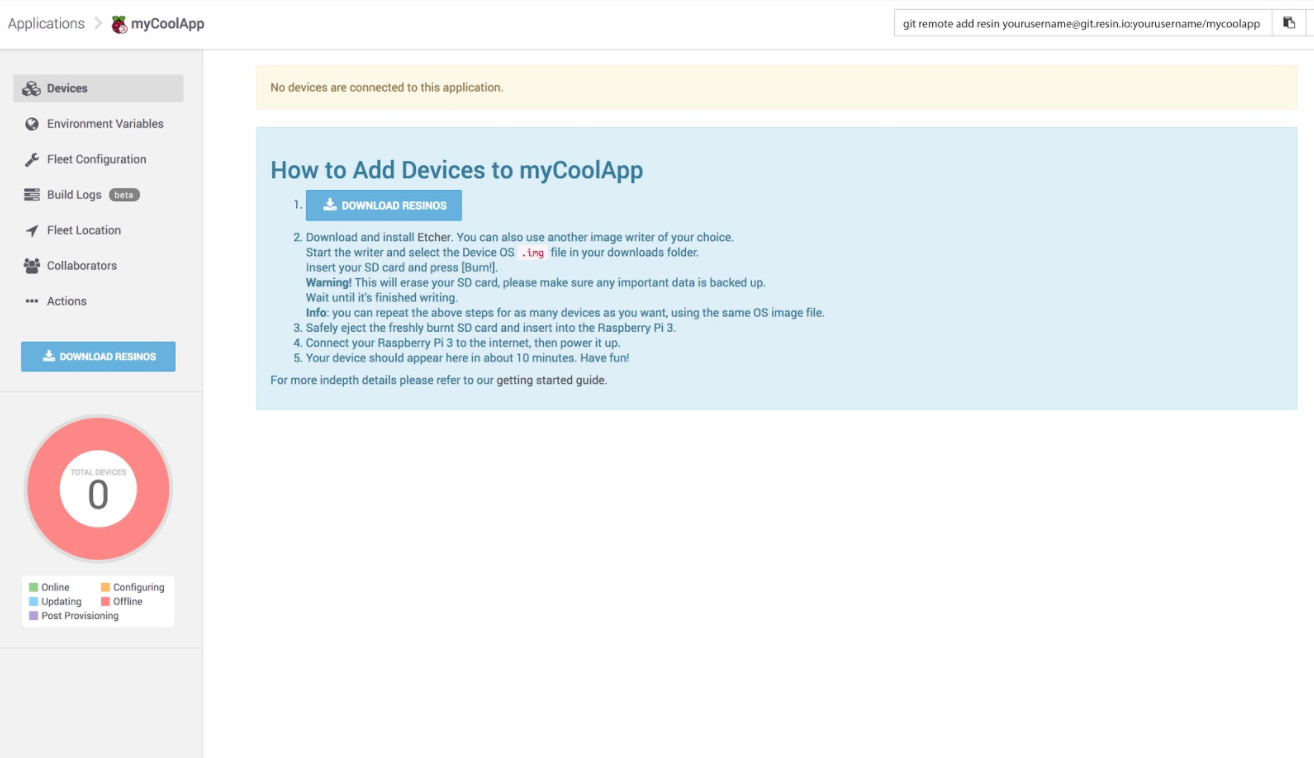
Choose the configuration you would like.
After downloading the resinOS image. You need to burn that image onto a SD card for each device you want to connect under you myCoolApp. You download Etcher which will make the process simple.
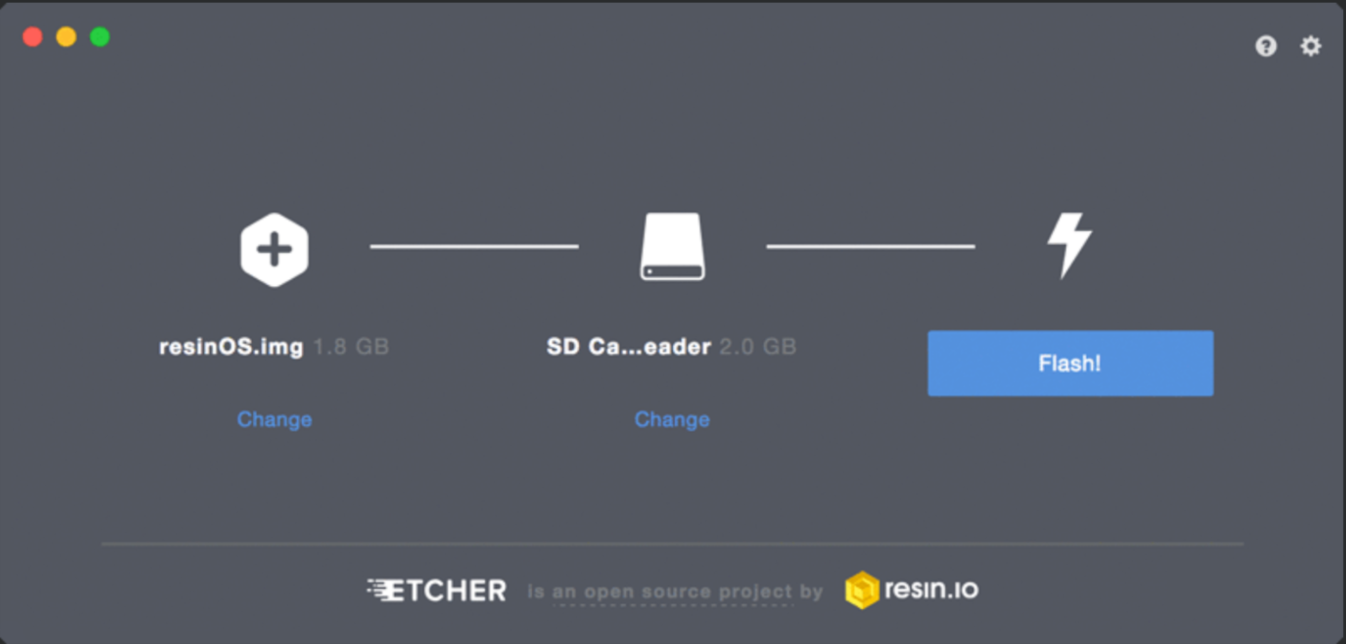
After the resinOS img has completed burning onto an SD card you can place that SD card into whatever device you want to connect to Resin.io. The Resin.io platform will start the provisioning of your device to their server.
Remember, if you burn this resinOS image associated with the application that you created onto multiple SD cards and place each one into a device then all of those devices will show up under that application in the Resin.io dashboard.
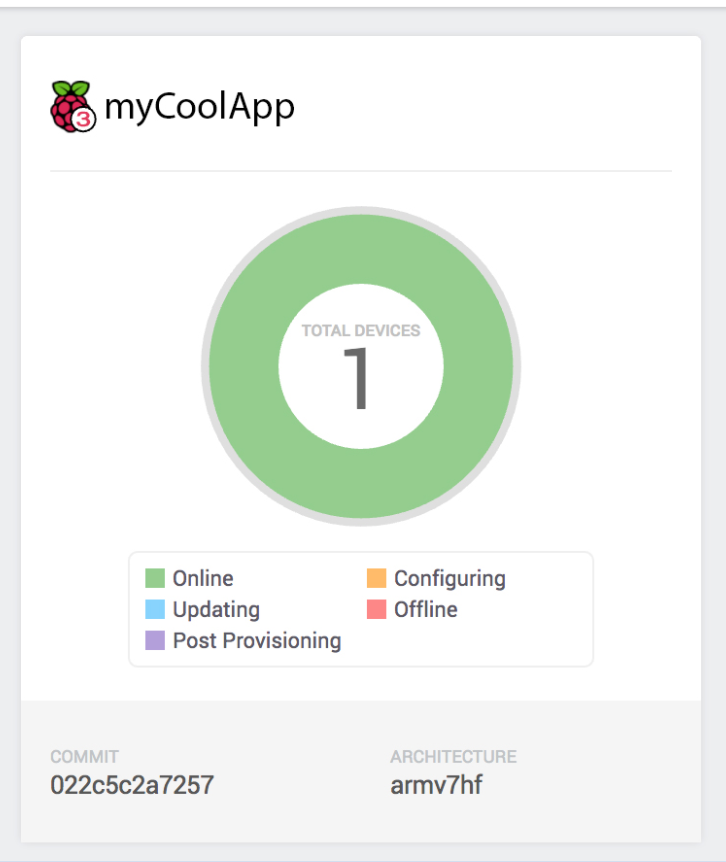
When you click into your application on the Resin.io dashboard you will see a list of all the devices that are connected under your myCoolApp.
How ever many devices you have will show up in this list.

Congratulations!
Your devices are now connected to Resin.io.
Let's get some code on our device
To begin if you do not have a repo let's make one.
- Setup a repo on GitHub
- Clone that repo on your computer
Remember when we create our myCoolApp in Resin.io we were giving an url to enable us to point at the Resin.io server. We now need to add that remote address.
At the terminal within the GitHub repo folder you just cloned. Copy and paste that Resin.io remote address
$ git remote add resin yourusername@git.resin.io:yourusername/mycoolapp
In terminal run $ git remote show you should see this get returned.
origin
resin
Go ahead and write some application code of your choice.
Now you are ready to push your code to Resin.io and ultimately to your devices. Commit your code and then in the terminal run:
git push resin master
Resin.io will start the process of building and containerizing your code and then push it onto the devices. Resin.io will use either your package.json (node) or a Dockerfile if present to build docker container. The Dockerfile will always win if both are present and provide fine-grain installation commands for building your docker container. While that is building let's expand on what containerizing means.
Resin.io builds Docker containers and uses those containers to house all the application code, libraries and dependencies needed for your code to run on the device. Containers are isolated entities that you can send anywhere that will run as expected because they encapsulate everything needed to run. As mentioned you can create a Dockerfile to get control over the building of your container. When creating your Dockerfile remember to include one of the base images provided by Resin.io specific to your device.
Hey look, our build is complete! You should see a lovely unicorn in the terminal.
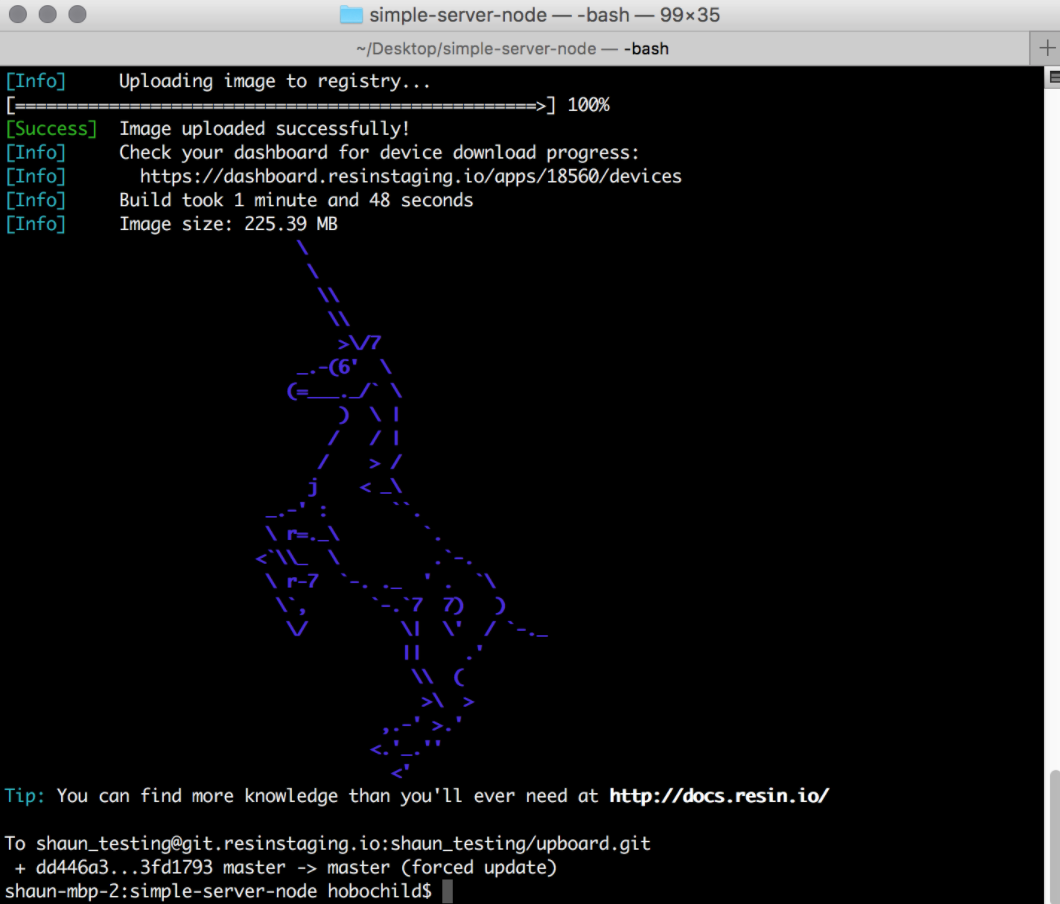
Nice! It is all working. We have software that is being deployed to a physical device but it is not as automated and continuous as we would like it. So let's go a step further.
Always. Be. Shipping.
That is a motto in software development. After you write your application code and have it in the hands of users, you will be maintaining, adding new features, updating, and fixing bugs in that code. So hopefully you will be shipping code all the time.
Setting up circleCI
While it is true that we have deployment with Resin, we want to setup Continuous Integration and Deployment as part of that solid foundation of building software we spoke of earlier. We want developers to be able work iteratively and safely. And what else?
Always Be Shipping.
Enter circleCI.
Having Continuous Integration and Deployment in place will allow developers to leverage the power of GitHub and collaborate. CircleCI will run the tests and validate all of our code against those tests before being merged into production and updated on the devices.
Let's setup circle.
First setup an account at circleCI
Now we need to get circleCI and Resin.io to play nice and communicate securely with each other to do this we need to generate a public / private ssh-key pair without a paraphrase.
At the terminal run:
ssh-keygen -f resinCircle.rsa -t rsa -N ''
You can replace resinCircle.rsa with whatever name you want to call this ssh-key.
This will generate the public/private ssh-key pair that we will need later.
Now go to the circleCI dashboard and find the IoT project that you created in GitHub in the project list. When you find it click on the settings icon.

When the settings options appear find ssh-permissions in the list and click it.
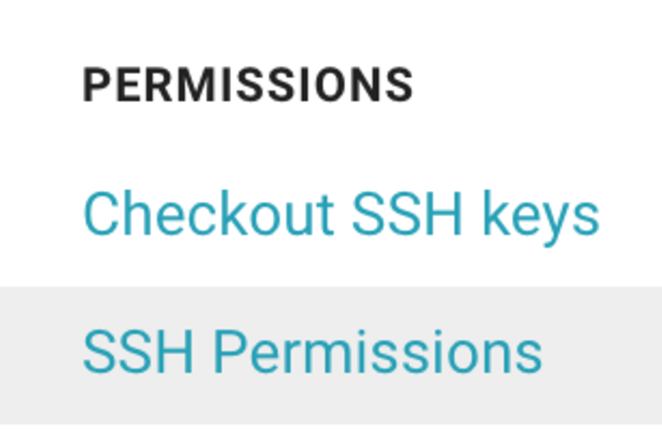
Then click add-key and add your private ssh-key that you generated.

Now we need to go back to our Resin dashboard. Go to "preferences" and then "ssh-keys". From there, click ssh-keys and add the public ssh-key from the pair we generated into Resin.io.

Congratulations
You now have Continuous Integration and Deployment setup for IoT.
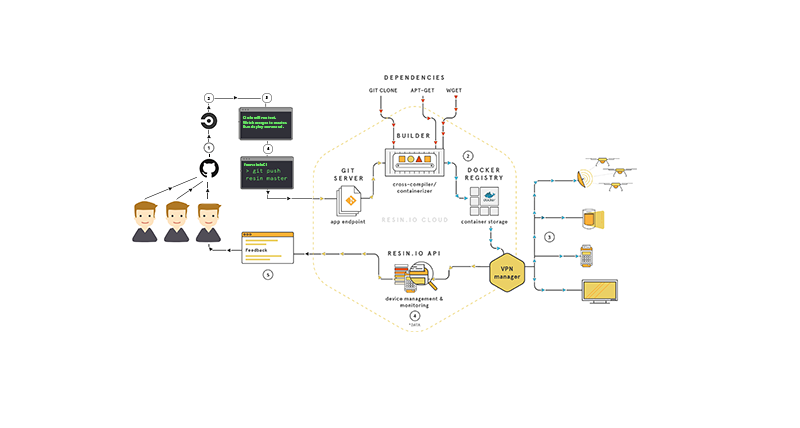
This is what an image map of our setup would look like.
Thanks for reading! I’m Elrick Ryan (@elrickvm on twitter), and I love building UI.
If you're like us and always pushing the limits of awesome. We're the Frontside drop us a line and let's build it and ship it.